Sunday, October 17, 2010

From brassy to sassy... or something like that.

When Josh and I first bought our house - it was pretty brasstastic.

Meaning, all fixtures were circa 1992. If our house was a person - it would be wearing a scrunchie - and possibly some stone washed Guess jeans.

The other day feeling inspired by an etsy light fixture I saw for $70...I decided to give our sad little entryway light an update.


Here it is in all of its brass glory.


And here it is post makeover.


It makes me happy that people are welcomed into our home with an updside-down mason jar.

To do the makeover - we just turned off the breaker switch - unscrewed the fixture and I spray painted away. We let everything dry and put it back. Then I just set the mason jar on top and called it day.

Total cost? $3.67 for a can of black spray paint. I already had the jar.

When something is uglier than ug to begin with - you really can't ruin it. Totally takes the fear out of decorating for me!

Here's a fun blog with a links to more DIY projects - if you need any inspiration!


Tuesday, October 12, 2010

Lumpy Pillow Refashion

Last night I had the itch to sew. Not knowing what to sew and running out of fabric fast, I began to scour the house for something I could transform.

Or TRY to transform.

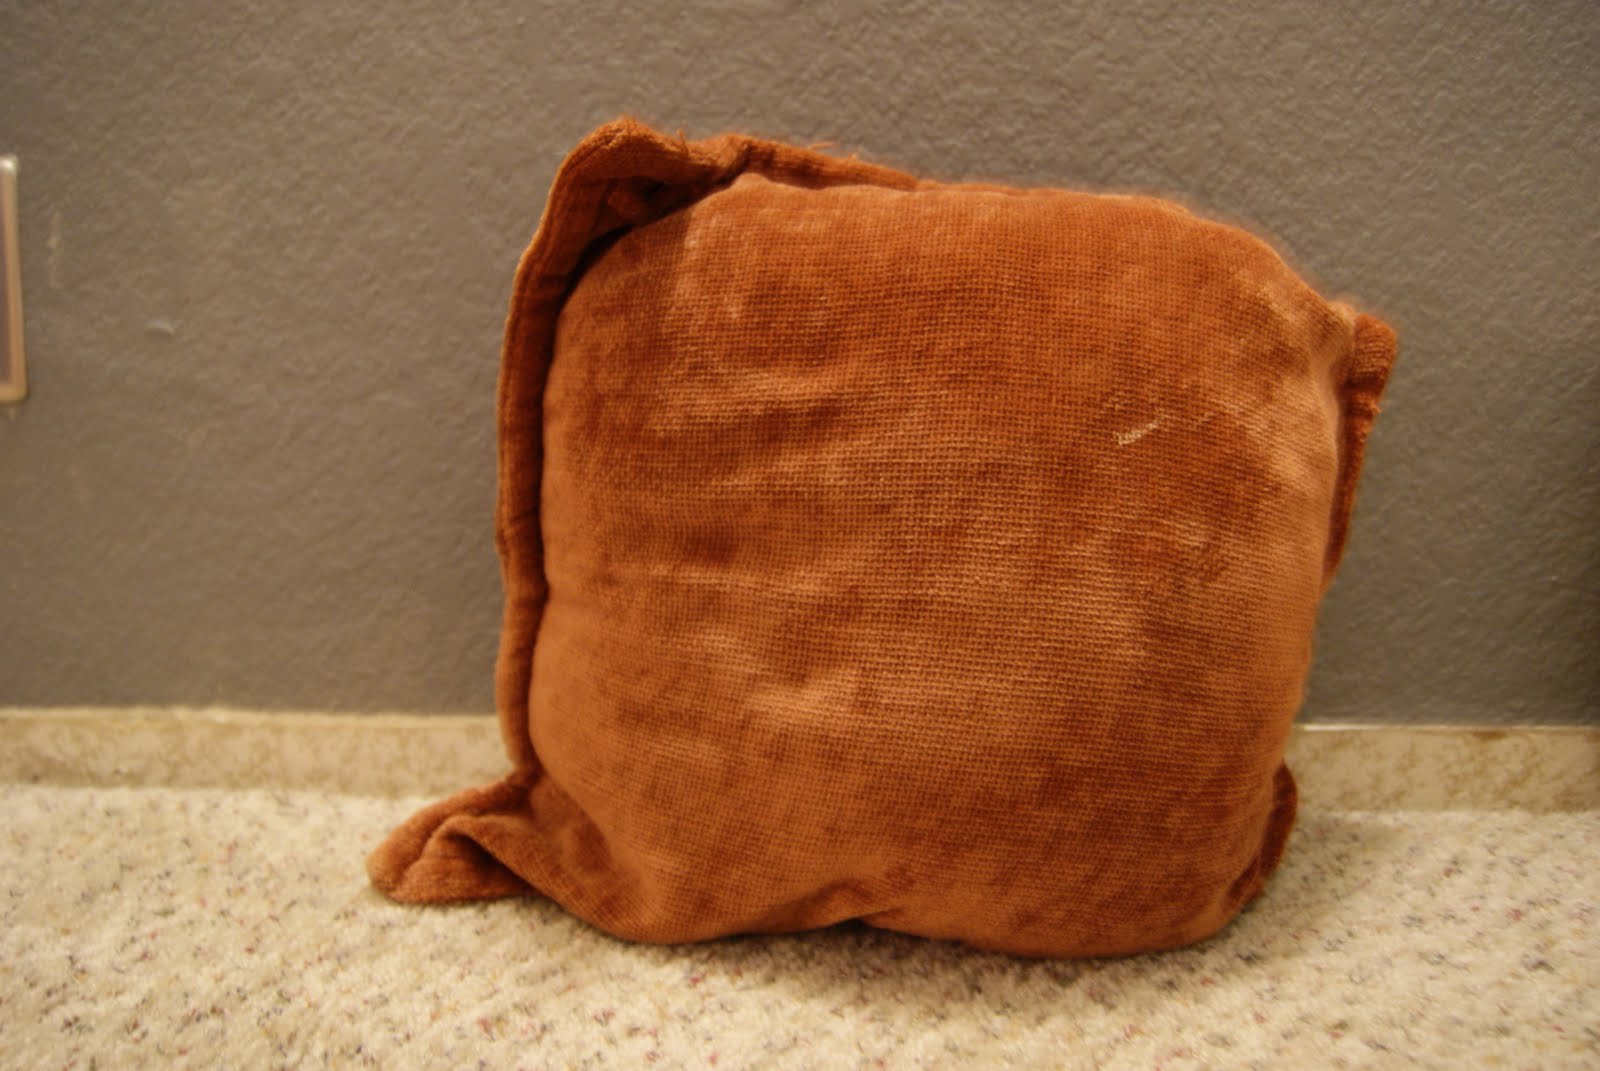
I landed on these chenille throw pillows.


(dont judge my lack of baseboard...that's another project!)

My mother in law bought us these because Josh really loves chenille. (And just to defend his manliness I will tell you that chenille is the only type of fabric he knows the name of.)

Anyways, as you can see we have been huge fans of these pillows. We have used them quite a bit. Josh even packs these up if we go out of town. Ha. That's how much this man loves chenille my friends.

But now they are left looking a bit lumpy and sad. Not wanting to get rid of them (hoarder alert), I attempted to refashion them. Loved their golden harvest-y color and thought they might make a lovely pumpkin. (These days, if I am not spray painting things...I am turning them into pumpkins).

Well, it took a few tries - and I am sad to say a complete and total "I suck at everything crafty" pity party for myself until I came up with this.

Which I think is a halfway decent pillow turned pumpkin.


Should you be interested into turning your old lumpy pillows into a stuffed vegetable, it's really quite simple.

I cut open the entire pillow like so.


Then I sewed the edges back up and made a gathering stitch at the bottom.


I stuffed it back up with it's old stuffing, put a rubberband at the top (I told you I am a bad seamstress) and wrapped a ribbon around it like I was wrapping a gift. Twine would also work and may look a bit more natural than plaid ribbon...but it is what it is:) I added some harvest bling and stuck a stick in the top for a stem. Voila. Lumpy pillow turned pumpkin.


<br />http://www.thethriftyhome.com

Friday, October 1, 2010

Ghetto Fab Tee Shirt Bag

So, I am not the proud owner of a sewing machine. Getting older does indeed have its perks!

I am soooo far from being the next (um...insert name of famous sewer - betsy ross?) but am having fun annoying my husband by sewing him super ghetto random items insisting he uses them. Because everyone needs a call phone slipcover made out of damask fabric. Especially a man.

Anyways, tonight, in ten minutes I made a wonderful tote bag out of a tee shirt!


Now - I am certainly not going to be carrying this bag with me to the mall - but I think I could make a small bag for my husbands lunch or make some bags to carry groceries in!

There's just something so satisfying about carrying something you have sewn. You feel like Mrs. Duggar, I mean minus the 18 kids and all.

Anyways, all you do is cut off the sleeves of an old tee shirt. Then cut a bigger neckline. THEN sew up the bottom of the shirt. And voila....ghetto fab tee shirt bag!

Good for the environment and also for the decluttering of tee shirt drawers everywhere.

Monday, September 27, 2010

monday makeover!

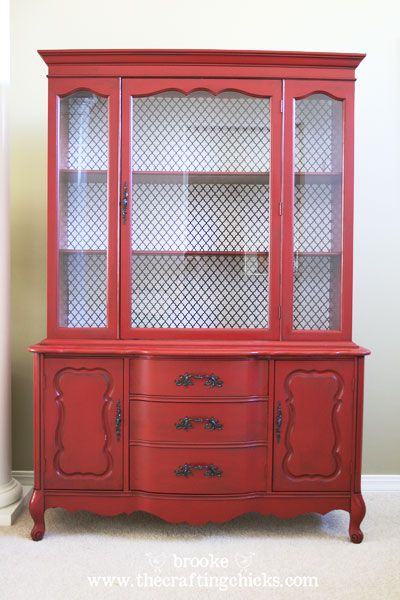
Because I saw an UH-mazing makeover on Thrifty Decor Chick and it has me dreaming of spray paint and craigslist.

Even though I have no china cabinet I do have a pretty sad looking dresser that could use some serious love.

Yes - they re-did this thing with FIVE cans of red spray paint. And they added glaze which I think adds a touch of class.


I think I am declaring it Makeover Monday.


I also think I am in love.

Friday, September 24, 2010

The Nook

For my birthday this year - Josh, his grandpa and his dad worked together to build me a window seat!

I have been wanting a built in-type thing for a little nook we have in our house. It's kind of an awkward space really, but I felt it had potential and I love the idea of a little reading nook.

The box opens up for storage as well so now, I will be able to hide crap....I mean...store stuff in there in a neat and organized way:) Yes.

Anyways, it's a work in progress as I still have to cover it with some fun fabric. And we have to put back some baseboards - but in an effort to continue blogging even though things aren't "quite perfect" I am putting up some pics.

I really need a curtain for this window, but for now - am so enjoying the home made labor of love from my man!

Here is what the area looked like the day we moved in. Note the awesome doily curtains from the previous owners.


And here is the new and improved nook of awesomeness! (area not quite complete...but close!)


Thursday, September 23, 2010

Stripes: don't be a hater

So, I am thinking about painting some stripes in our master bedroom/bathroom.
But, being a girl who let's face it, has some child-bearing hips minus the actual child bearing....stripes are not related to the word "cute" in my head.
Haven't we always been told "don't wear horizontal stripes, they make you look fat."

So stripes have been blacklisted in my world. They are dead to me.

Then it hit me....

It doesn't matter that much.

Is my lack of stripes really hiding that much? Do people think I am super skinny and then I put on a striped shirt and they say "oh wait - she is not a supermodel?"

I don't think so.

And after seeing soo many stripes in the decorating and fashion world lately, I am inspired.

They are so fresh and so clean, clean.

I even bought a horizontally striped cardigan - and my husband loves when I wear it! Take that "what not to wear!"

So, I am taking a stand for stripes. Seriously.

The following are pictures to prove their adorability.

Does it get cuter than this hallway? I submit that it does not. I think I need a whole wall of chalkboard now.


3 men and a lady

More hallway goodness.

3 men and a lady
Loving this striped dining room.
Tart House Designs

Prison bar chic.


Seesaw

Even baby Zebras rock the stripes. And they look adorable!
The zoo? Who knows.

Yello and grey. Dreamy.

Decor Pad

Simple, sunny and fab.


decor pad

Sigh. These drapes are heaven. (please don't take that literally all you Randy Alcorn people - heaven is so much more than good window treatments although I can't help but think those will be included)


the nest


I am a sucker for grey.

So there you have it. Stripes are no longer my enemy. They are my friend. Looking forward to getting my stripe on in the near future.

Tuesday, September 21, 2010

Pumpkin bling

So - I've been really into pumpkins lately.

I mean, it IS fall. Pretty much everyone is into pumpkins, so I am not real original:)

But someone in blogland inspired me to make this - a mod podged pumpkin. It adds a little flare to a pumpkin if I do say so myself. And who doesn't love a little flare? I sure do.


Oh it makes me happy.

First - go to Micheal's and pick up a pumpkin. I chose black because I am goth like that. I also chose artificial so my pumpkin does not rot. Rotting pumpkins do not make for good fall decor.


Then find some cute tissue paper. I chose damask because I like damask and it's black and white and kind of spooky like that. Plus it reminds me of my wedding. Happy:) Also you need modge podge and a cheapo paint brush.


Then cut the tissue paper into little banana shapes, something that will conform to the shape of the your pumpkin strip by strip.

Confession: I had to make a banana stencil because I cannot even freehand the simple shape of a banana. I am special.


Then get to mod podging! Its a little tricky dealing with the tissue paper...but mod podge covers a multitude of sins. I think that's in the Bible somewhere.

You will want to paint away one strip at a time. You can even sing the Jordin Sparks song "one step at a time" while you are doing this. But change it to "one strip at a time" because everyone knows its cooler to make up lyrics to apply to you.

After singing and mod podging...let dry.

Then bask in the glory that is your mod podge pumpkin!